Grandma Doris called this her 4 ingredient sweet and salty secret

There is a very specific kind of kitchen magic that happens when deep, molasses-rich caramel meets the sharp crunch of salted pretzels. These 4-Ingredient Caramel Pretzel Bars are the definition of that contrast. They taste like something you’d expect from a boutique confectionery—carefully crafted, layered, and indulgent—but the real surprise is how little effort they actually require. Just four pantry staples and a simple oven technique are doing all the work here.
Instead of standing over a stove watching sugar bubble on a thermometer, the oven quietly transforms butter and brown sugar into a warm, chewy caramel base. That caramel seeps into the pretzels, binding everything together, before being finished with a smooth layer of melted chocolate.
No candy thermometers. No tempering chocolate. Just mix, press, bake, and melt.

Why You’ll Love This Recipe
Only 4 core ingredients: A straightforward recipe that delivers far beyond its simplicity.
10 minutes prep, 12 minutes bake: Fast enough for last-minute cravings or gatherings.
The sweet and salty balance: Pretzels cut through the richness of caramel and chocolate so the bars never feel overly sweet.
Highly giftable: They cut cleanly into squares and fit perfectly in tins, jars, or dessert boxes.
A bit of kitchen science: You get to see how heat alone turns brown sugar and butter into a rich caramel-like layer without cream or corn syrup.
Ingredients You’ll Need
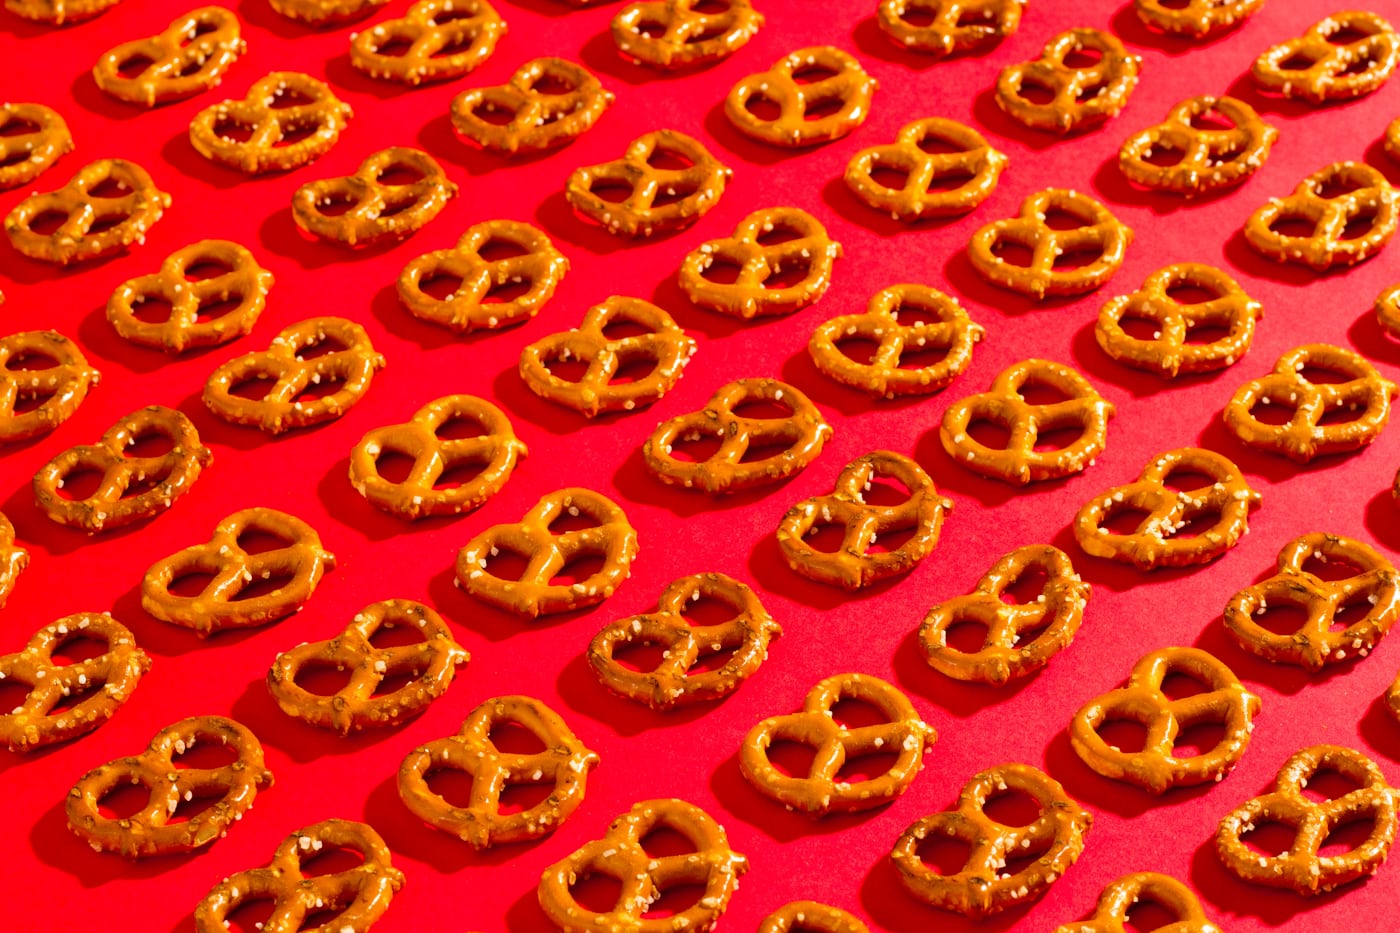
-4 cups salted pretzels (about 1.5 standard bags of mini pretzels), roughly crushed
-1 cup (2 sticks) unsalted butter, melted
-1 cup packed brown sugar (light or dark both work, though dark gives a deeper caramel flavor)
-2 cups semi-sweet chocolate chips (important for balancing the sweetness of the caramel layer)
The Science Behind the Oven Caramel
The key question is how butter and brown sugar turn into caramel without any added cream or syrup. The answer lies in composition and heat.
Brown sugar is essentially white sugar combined with molasses. When it’s baked with melted butter at 350°F, the moisture gradually evaporates and the sugars begin to caramelize. At the same time, the milk solids in the butter brown and deepen the flavor, creating a rich, toffee-like layer with a chewy texture.
Pretzels play an equally important role. Rather than blending them into fine crumbs, keeping a mix of small chunks and coarse pieces ensures structure, crunch, and texture throughout every bite. The caramel clings to those uneven surfaces, which is what gives the bars their signature bite.
Step-by-Step Instructions
1. Prep and Preheat
Preheat the oven to 350°F (175°C).
Line a 9×13-inch baking pan with parchment paper or foil, leaving extra overhang on the sides for easy removal later. Lightly grease the lining to prevent sticking.
2. Crush the Pretzels
Place pretzels in a sealed zip-top bag and crush them using a rolling pin or heavy pan. Aim for a mix of fine crumbs and small chunks rather than a uniform powder.
Transfer everything into a large mixing bowl.
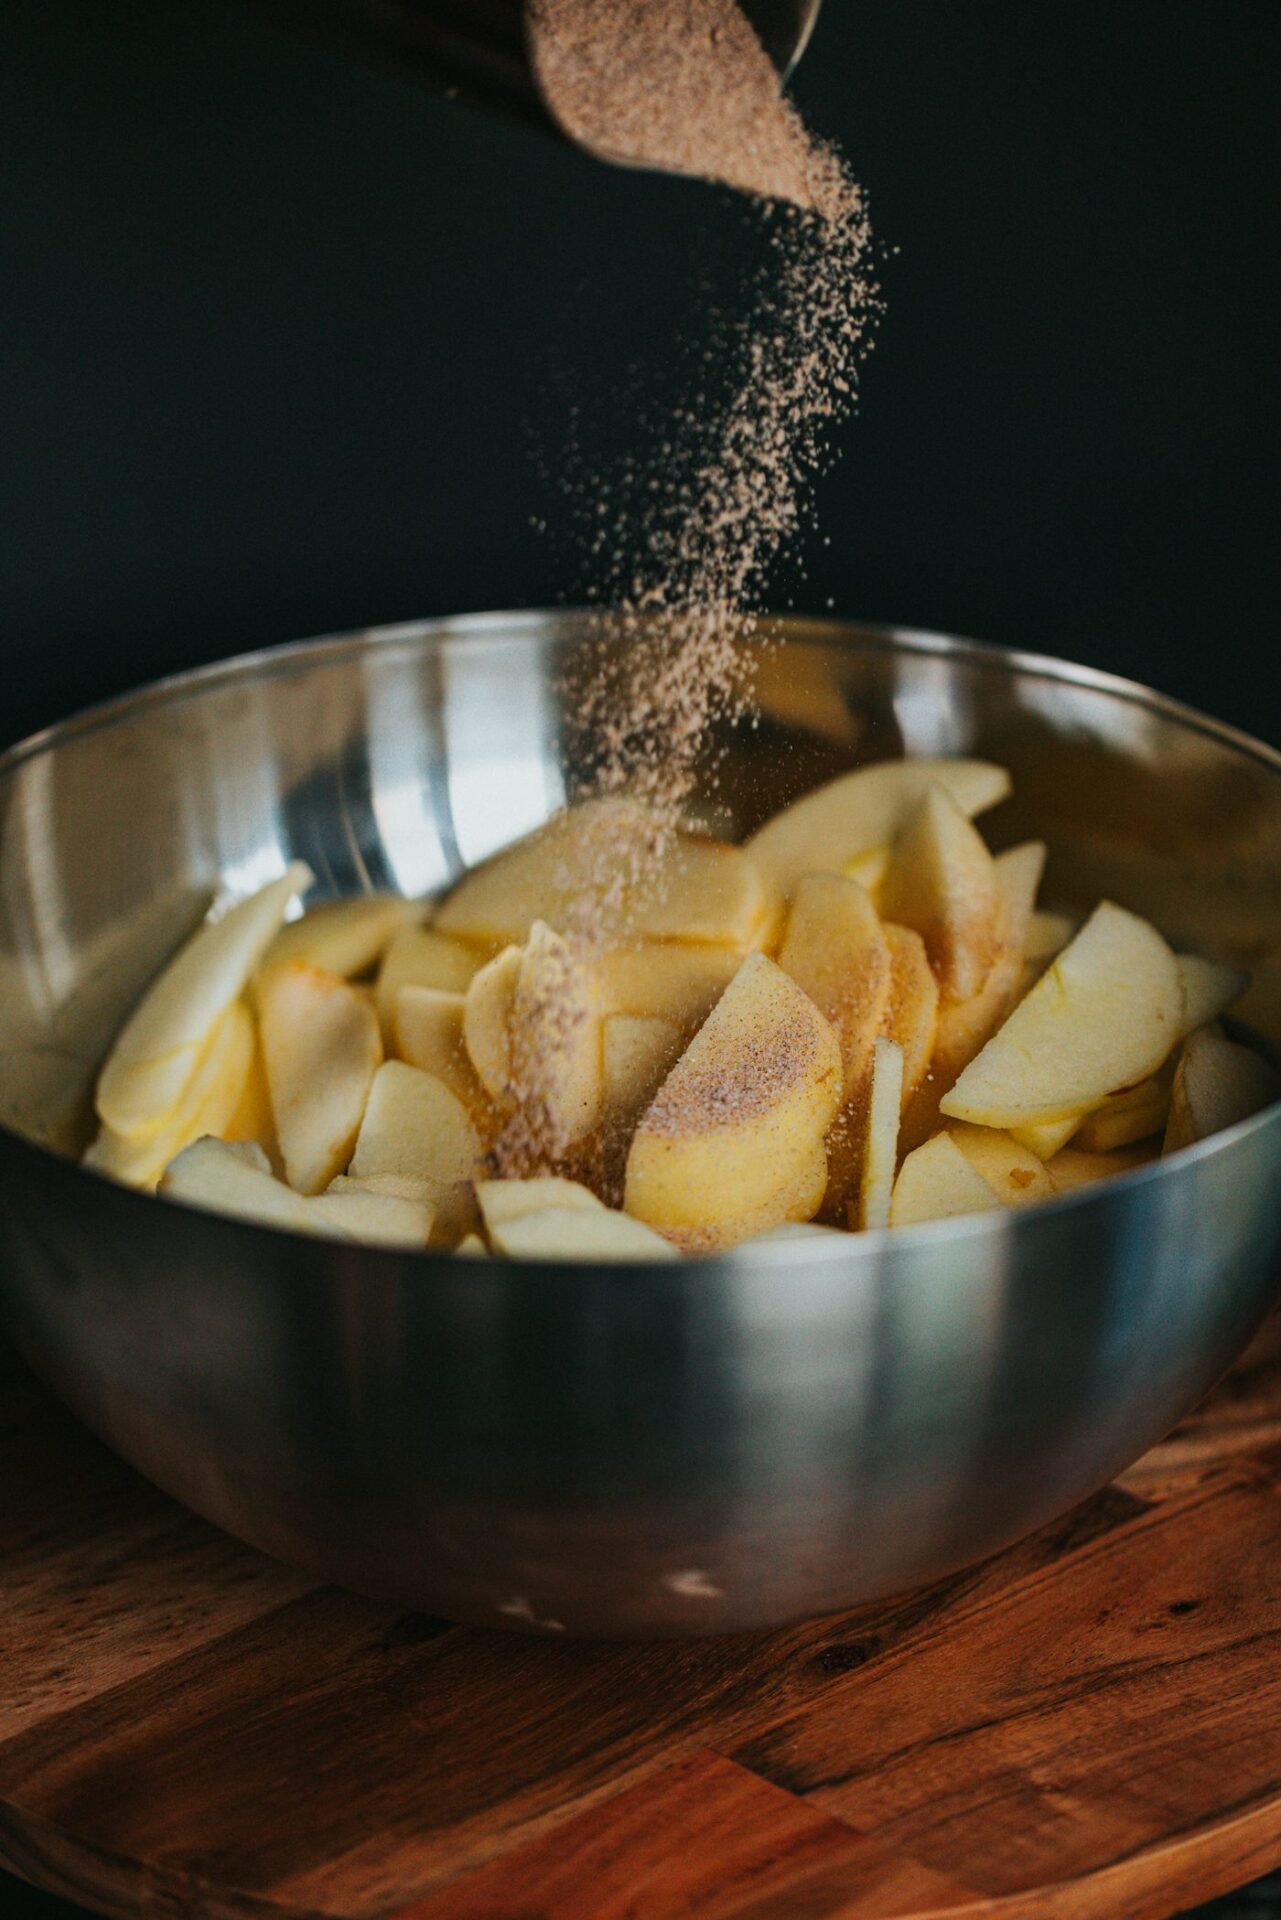
3. Mix the Caramel Base
Pour in the melted butter and brown sugar over the pretzels.
Stir thoroughly until every piece is coated and the mixture resembles damp, sandy clusters.
4. Press and Bake
Spread the mixture evenly into the prepared pan.
Press it down firmly using the bottom of a glass or measuring cup. This step is essential for structure.
Bake for 10 to 12 minutes, until the edges are bubbling and the center looks slightly glossy.
5. Add the Chocolate Layer
Remove from the oven and immediately sprinkle chocolate chips evenly over the hot surface.
Let the pan sit untouched for 3 to 5 minutes so the residual heat melts the chocolate naturally.
6. Spread and Set
Smooth the melted chocolate into an even layer using a spatula.
Allow the pan to cool completely, then refrigerate for at least 1 hour until fully set.
Serving and Gifting Ideas
These bars work just as well for casual snacking as they do for gifting or entertaining.
The flavor pairs especially well with strong coffee, chai, or black tea, where bitterness balances the sweetness and richness. For something more indulgent, they also pair nicely with dessert wines like Moscato or Ruby Port.
For gifting, lift the slab from the pan using the parchment overhang, cut into even squares, and layer them in a tin or jar with parchment between each piece. The result looks polished and intentional with almost no extra effort.
For added texture, you can finish the chocolate layer with a light sprinkle of flaky salt or finely chopped toasted nuts before it sets.
Make-Ahead and Storage
Refrigerator: Store in an airtight container for up to 2 weeks.
Room temperature: Fine for a few hours during serving, though the chocolate may soften in warmer environments.
Freezer: Freeze tightly wrapped for up to 3 months. Thaw in the fridge before serving.
Frequently Asked Questions
Can I use white sugar instead of brown sugar?
It’s not recommended. White sugar hardens when baked and creates a brittle texture rather than a soft, chewy caramel layer.
Why didn’t my chocolate melt properly?
If the base cooled too much before adding chocolate, the residual heat won’t be enough. Briefly return the pan to a warm oven or microwave for a few seconds to soften it.
Why are my bars hard to cut?
They were likely too cold. Let them sit at room temperature for 10–15 minutes before slicing. Using a hot knife also helps create clean cuts.
The Heart of the Recipe
This is more than just a dessert bar. It’s a study in contrast: salty and sweet, soft and crunchy, simple ingredients transformed into something that feels far more complex than it really is.
It works for quick weekday baking, last-minute gatherings, or homemade gifts that feel thoughtful without being complicated. The technique proves that you don’t need special equipment or advanced skills to make something memorable—just a few basic ingredients and a hot oven.
Sometimes the simplest recipes are the ones people remember most.